Mastering Blush Placement

Sculpt Your Way to Perfection: Mastering Blush Placement for Every Face Shape
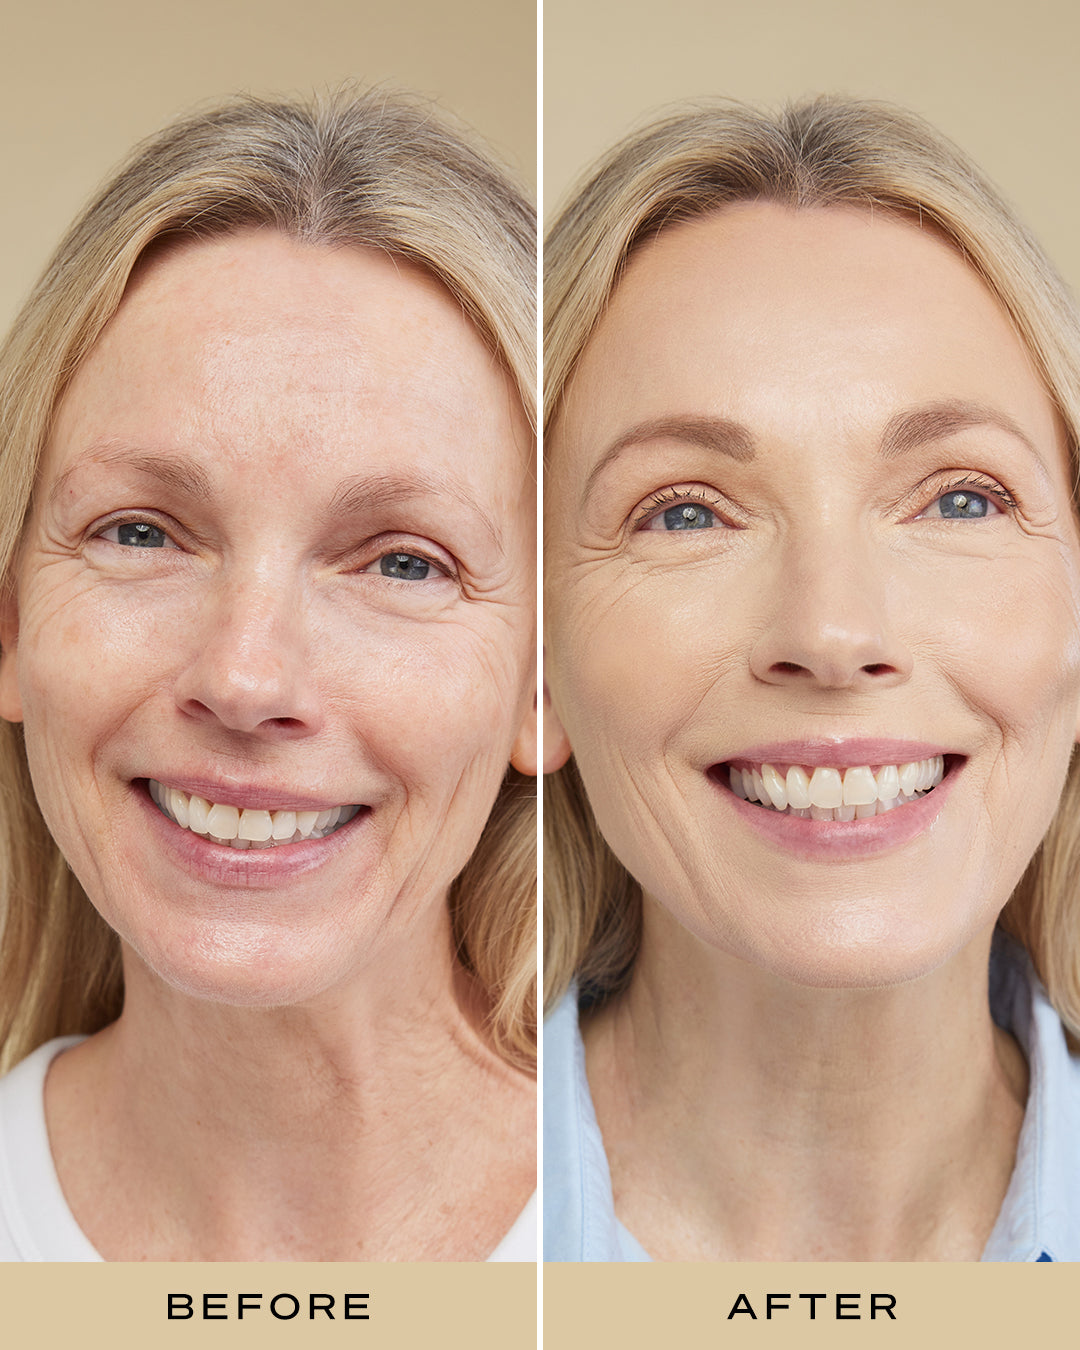
Blush is more than just a pop of colour—it's a powerful tool that can transform and enhance your natural beauty, sculpting your face with precision and flair. Have you ever wondered how makeup artists achieve that perfectly balanced look tailored to different face shapes? Mastering blush placement is your secret weapon, whether you're a beauty enthusiast or a professional looking to refine your skills. In this guide,we'll share makeup tips that will teach you how to apply blush like a pro and unlock the art of sculpting with blush for every unique facial structure.
Identifying Your Face Shape
Determining your face shape is simpler than you might think. Start by pulling your hair back and examining your face in the mirror.
Look at the width of your forehead, cheekbones, and jawline. Pay attention to the length of your face and the shape of your chin.
These key features will help you identify which face shape category you fall into. Remember, most people don't fit perfectly into one category, and that's okay! The goal is to find the shape that most closely resembles yours.
Pro tip: Take a photo of yourself facing straight ahead and trace the outline of your face. This can make it easier to see your overall shape.
Common Face Shapes Explained
Face shapes generally fall into six main categories: oval, round, square, heart, diamond, and oblong. Each shape has its unique characteristics and optimal blush placement. [Include graphics here to illustrate the face shapes]
Oval: Considered the "ideal" face shape, with balanced proportions and a slightly curved jawline.
Round: Characterised by soft angles and cheeks that are the widest part of the face.
Square: Features a strong jawline and forehead of similar width.
Heart: Wider at the forehead and cheekbones, tapering to a narrow chin.
Diamond: Narrow forehead and jawline with prominent cheekbones.
Oblong: Longer than it is wide, with a rectangular appearance.
Understanding your face shape is key to selecting the right blush and application technique for a sculpted, natural look.


Common Face Shapes Explained
Oval Face: Apply blush to the tops of the cheekbones and blend towards the temples for a balanced and natural look.
Square Face: Focus the blush application on the apples of the cheeks and blend inwards to soften the angular lines of the face.
Heart-Shaped Face: Apply blush along the bottom of the cheekbones and slightly towards the ear to balance out a broader forehead.
Diamond Face: Focus blush on the tops of the cheekbones and blend outward to emphasize the cheekbones while softening the angles.
Remember, practice makes perfect. Don't be afraid to experiment with different techniques to find what works best for you and your unique features.
Mastering Blush Placement
Now thatwe'veidentifiedface shapes,let'sexplore how to use blush to enhance and sculpt your unique features. The right blush placement can transform your look,addingdimension and highlighting your best features.
Blush for Round Faces
For round faces, the goal is to create the illusion of length and definition. The key is to apply blush slightly higher on the cheekbones to lift and elongate the face.
Start by smiling to locate the apples of your cheeks. Then, sweep your blush diagonally from the apples towards your temples. This technique helps to create a more oval appearance.
Avoid applying blush directly on the apples of your cheeks, as this can make your face appear rounder. Instead, focus on blending the color upwards and outwards for a sculpted effect.
Pro tip: Use a matte blush like the Blush Patrol Matte for a more defined look that doesn't add extra volume to the cheeks.


Blush Techniques for Oval Faces
Oval faces are versatile when it comes to blush placement, as this face shape is naturally balanced. The goal here is to maintain and enhance that balance while adding a healthy glow.
Apply blush to the apples of your cheeks, blending outward towards your temples. This classic technique adds warmth and dimension to your face without altering its natural shape.
For a more sculpted look, try the "C" technique: sweep your blush in a C-shape from your temples down to your cheekbones. This adds subtle definition while maintaining the oval shape.
Experiment with different blush placements to find what works best for you. Oval faces can pull off various styles, from a soft, diffused glow to a more dramatic, sculpted look.
Sculpting with Blush for Square Faces
For square faces, the aim is to soften angular features and create the illusion of length. Blush placement can help achieve this by drawing attention away from the jawline and towards the cheekbones.
Start by applying blush just above the hollows of your cheeks, blending upward and outward towards your temples. This technique lifts the face and creates a subtle oval effect.
Avoid applying blush too close to the nose or jawline, as this can emphasize the square shape. Instead, focus on the upper cheekbones to draw the eye upward.
For added dimension, try a subtle contour under the cheekbones before applying blush. This can help soften the jawline and create a more sculpted appearance.
Expert Makeup Tips
Now that we've covered blush placement for different face shapes, let's dive into some expert tips to elevate your blush game. These techniques will help you achieve a flawless, long-lasting finish.
How to Apply Blush Flawlessly
Achieving a natural, flawless blush application is all about technique and the right tools. Here's how to nail it every time:
- Start with a clean, moisturised face and apply your foundation and concealer as usual.
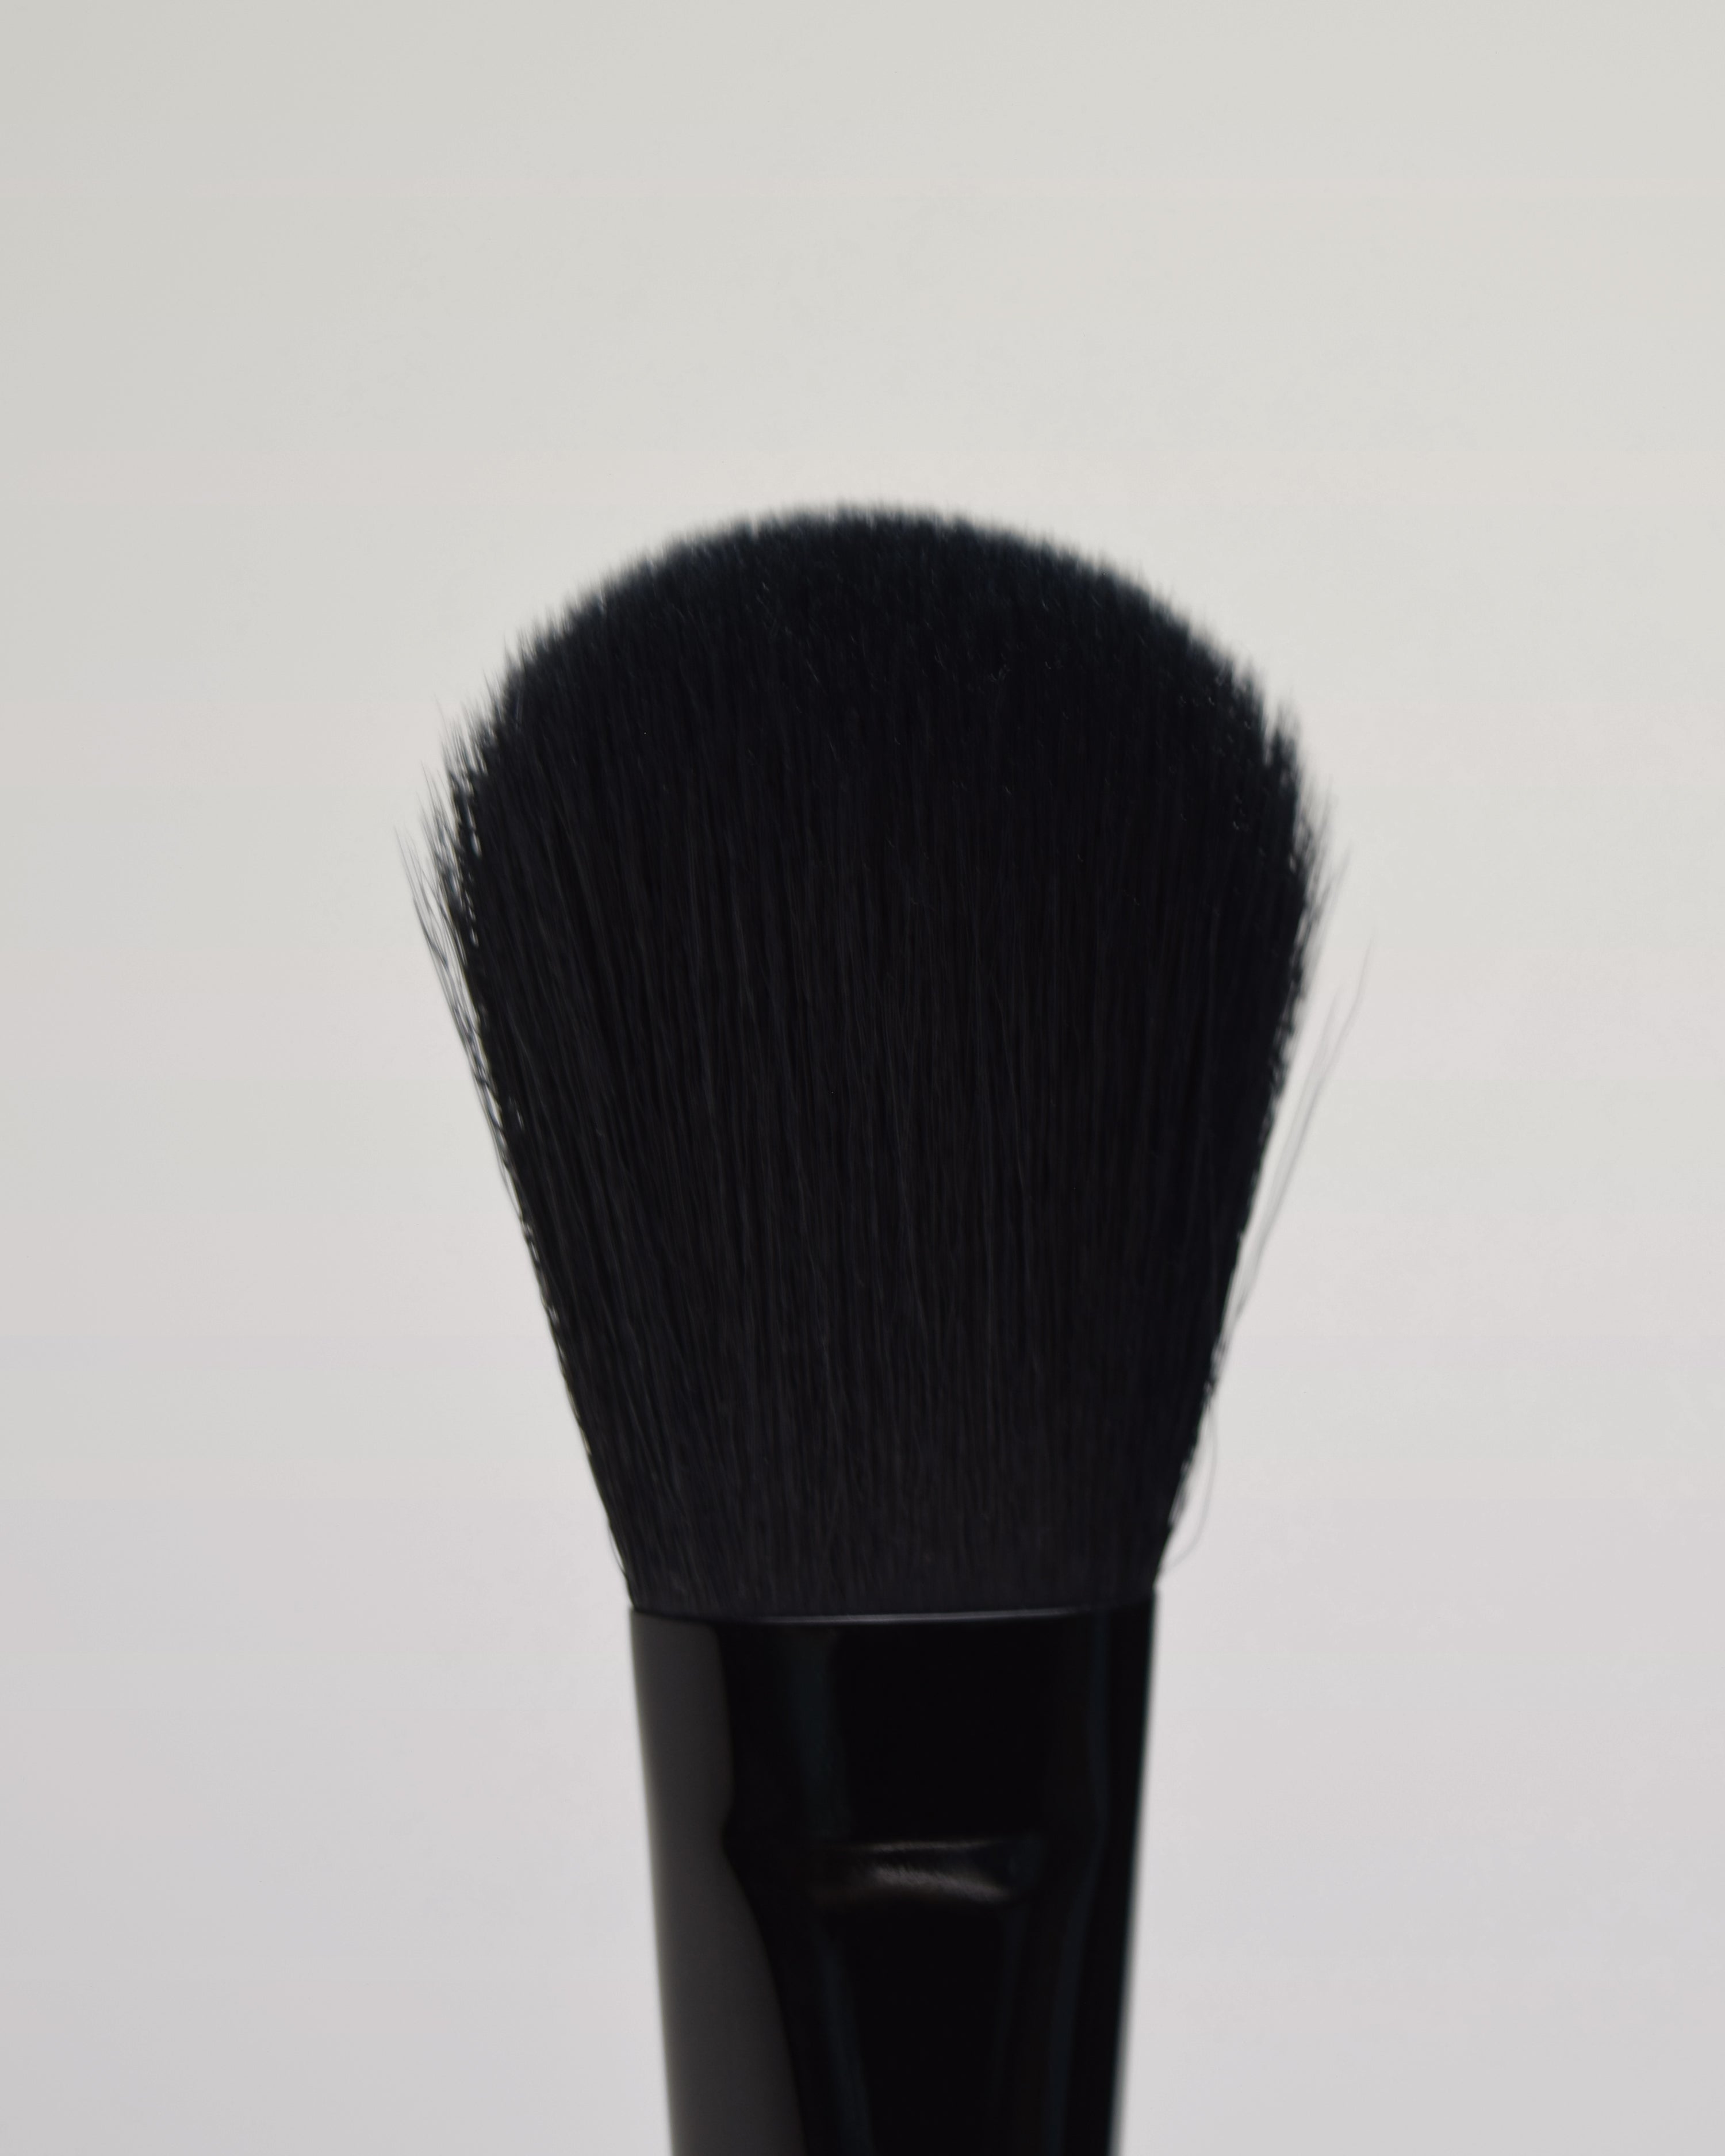
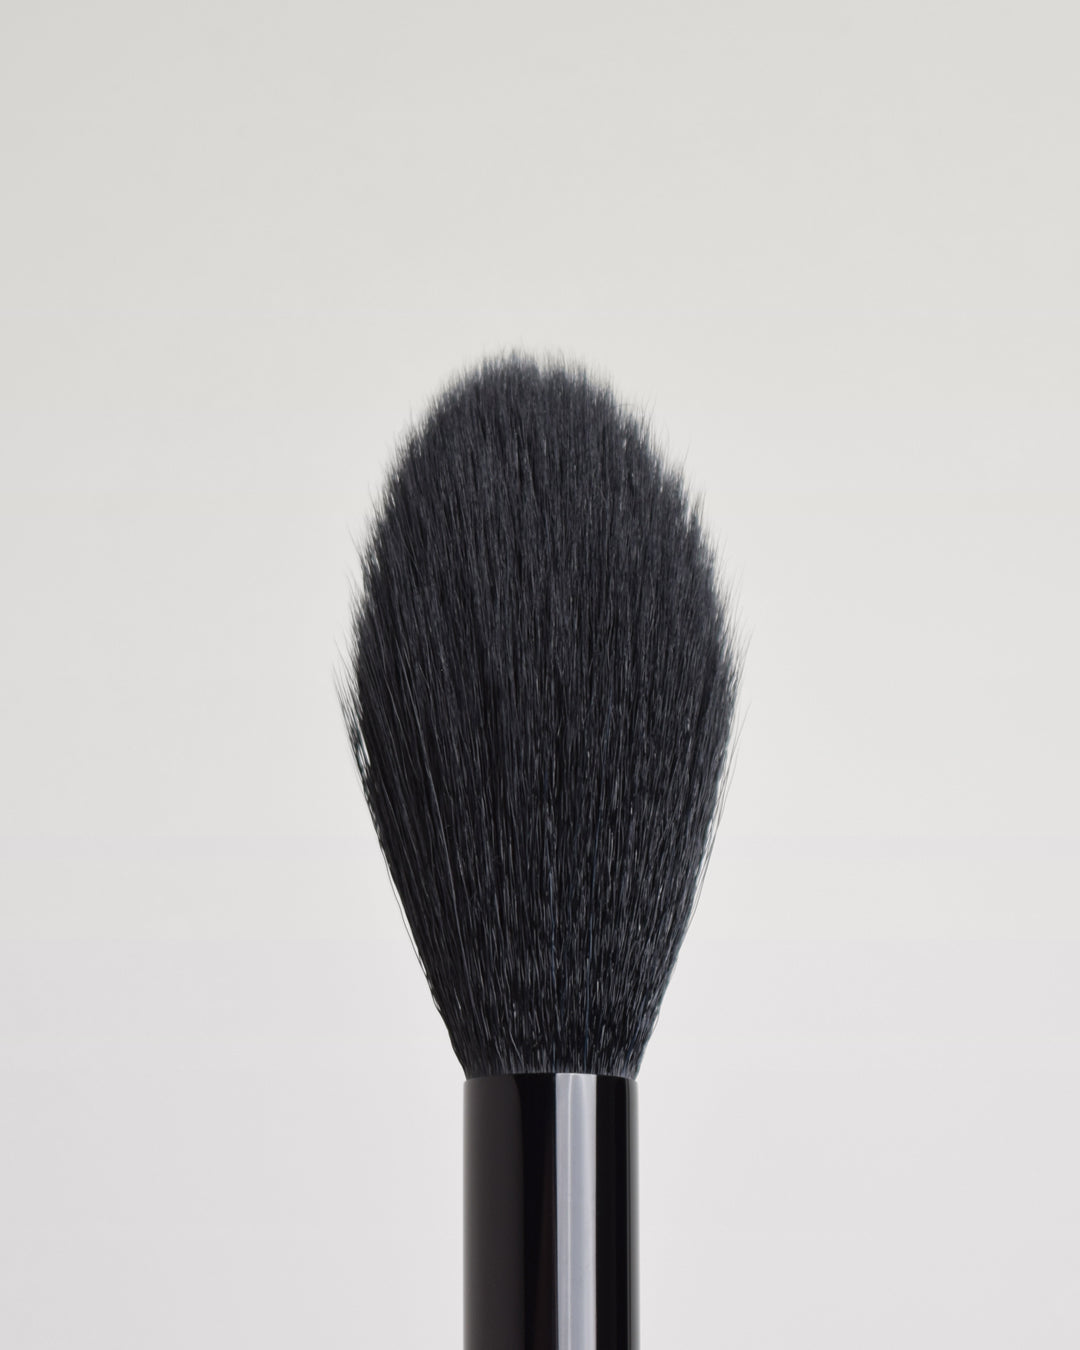
- Choose the right brush: a fluffy, angled brush works well for powder blush, while a stippling brush is great for cream formulas.
- Tap off excess product to avoid over-application.
- Apply blush using light, sweeping motions in the areas specific to your face shape.
- Build colour gradually – it's easier to add more than to remove excess.
Remember to blend, blend, blend! The key to a natural look is seamless transitions between your blush and the rest of your makeup.
Pro tip: For a foolproof application, smile while applying blush to easily locate the apples of your cheeks.
Pro Tips for Long-lasting Blush
Want your blush to stay put all day? Try these professional tricks:
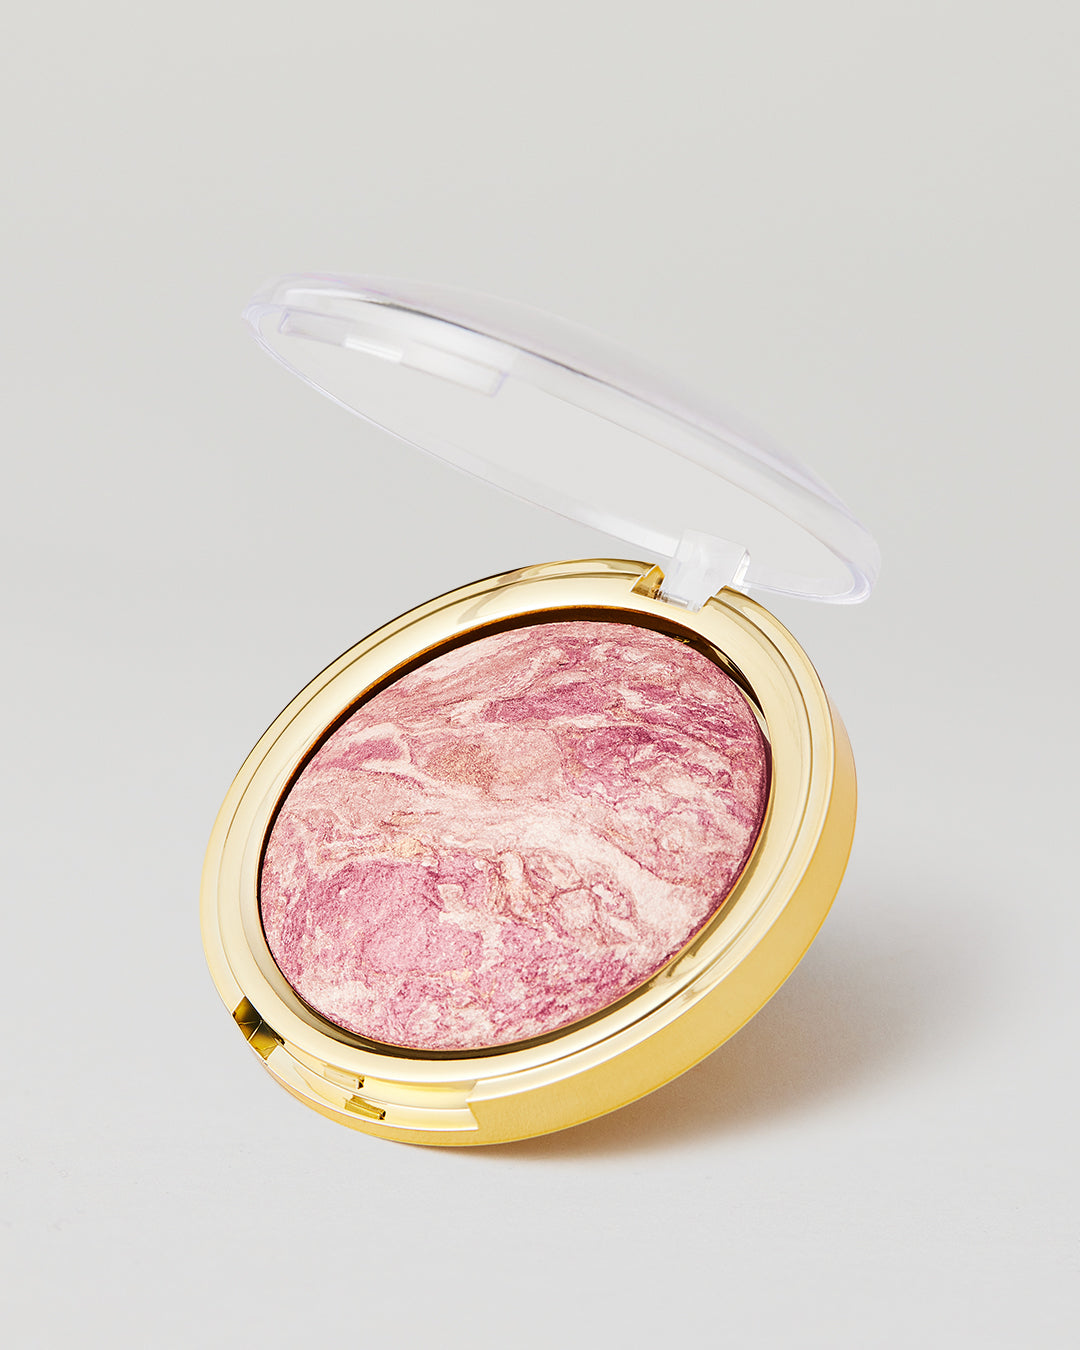
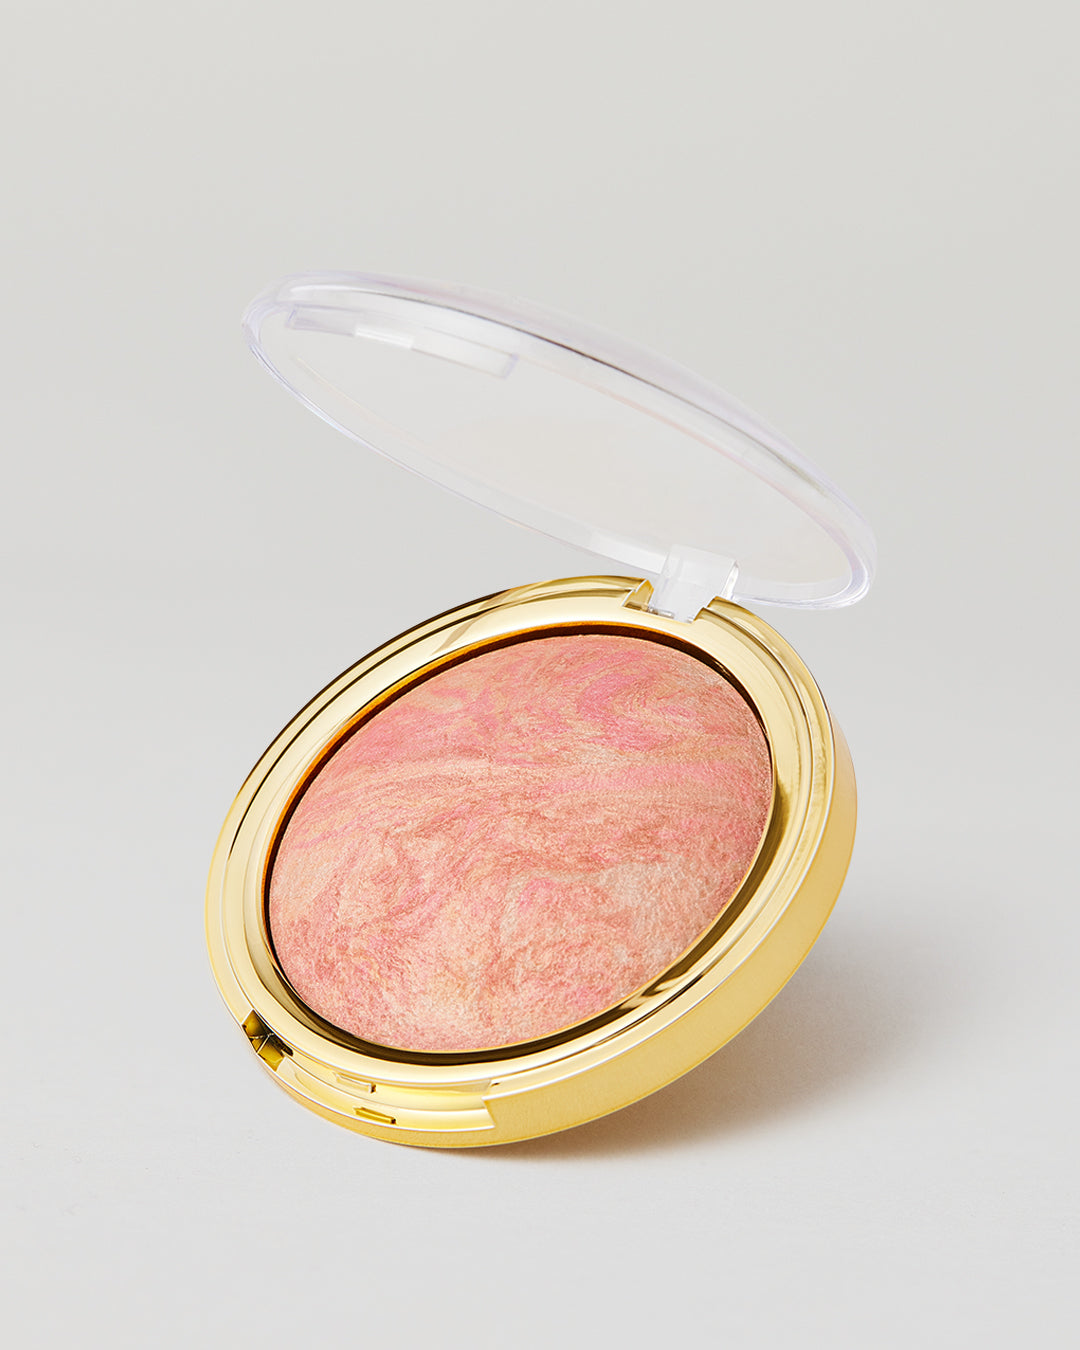
- Layer your blush: Start with a cream blush like our Cheek Switch Crème Blush Stick for longevity, then set it with a powder blush in a similar shade.
- Use a setting spray: A light mist with our Camera Finish Matte Setting Spray over your finished makeup can help lock everything in place.
- Consider your skin type: Oily skin? Opt for powder blushes. Dry skin? Cream or liquid formulas will give a natural, dewy finish.
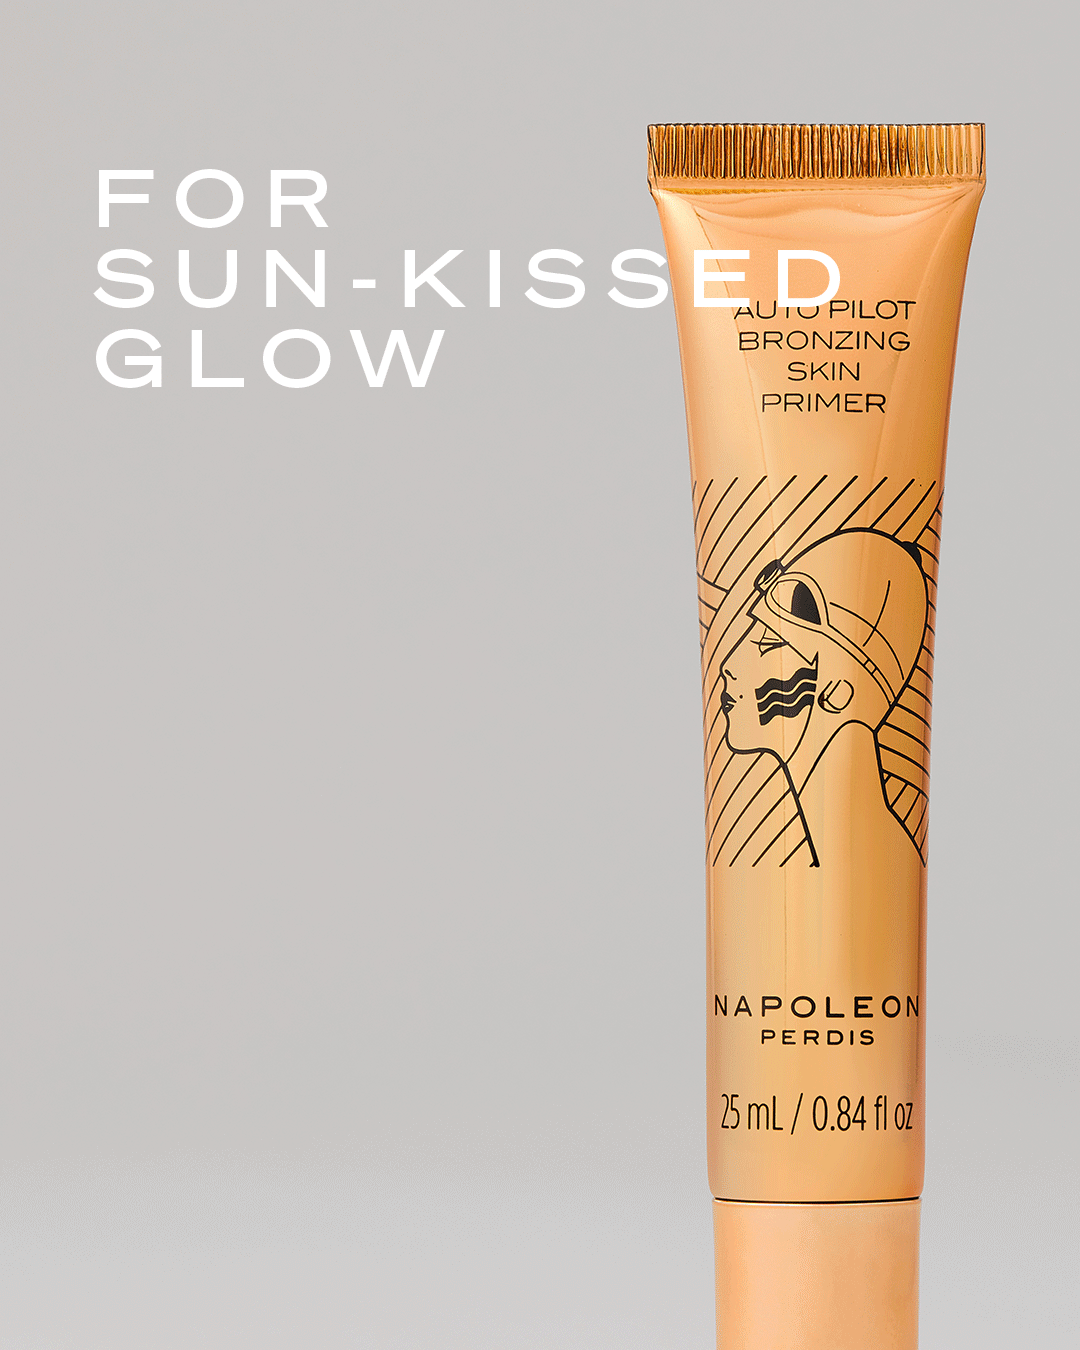
- Prime your cheeks: A good primer like our iconic Auto Pilot Pre-Foundation Skin Primer can help your blush adhere better and last longer.
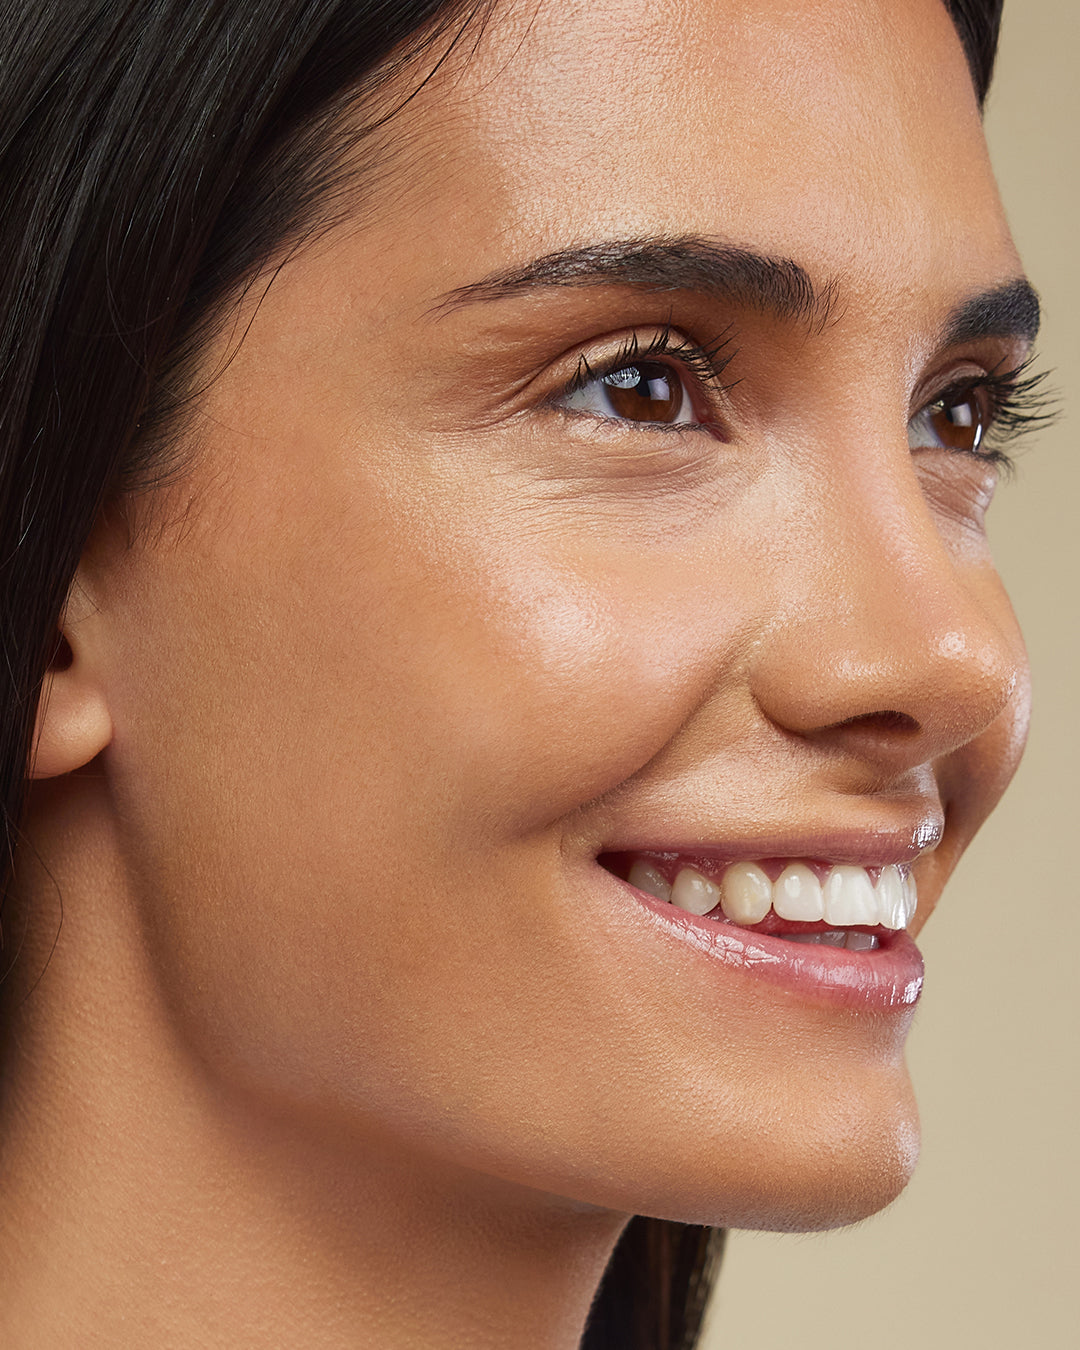
"The right blush can wake up your entire face, giving you a healthy, youthful glow that lasts all day," says makeup artist Lisa Eldridge.
Remember, the key to long-lasting blush is not just in the application, but also in choosing the right product for your skin type and desired finish. Experiment with different formulas and techniques to find what works best for you!
Featured Products


Frequently Asked Questions
Whether you're a full-glam queen or a no-makeup-makeup babe, our blush makeup FAQ spills all the deets.
What’s the difference between powder and cream blush?
Powder blush is ideal for a classic, matte or satin finish. It’s easy to build and blend gradually, providing soft-focus definition. Cream blush offers a dewy finish that melts into the complexion and delivers a fresh, radiant flush.
Do I really need face How do I apply blush for my face shape?
Blush placement can help balance and enhance your face shape. Round faces: Using a makeup brush, apply the blush slightly higher on the cheekbones and swipe it back towards the temples. Longer faces: Focus the blush on the apples of the cheeks to create fullness. Heart-shaped faces: Apply blush makeup just below the cheekbone to soften sharp angles Square faces: Blend the blush in a circular motion on the apples to soften the edges.
What is a blush stick, and how do I use it?
A blush stick is a creamy, swipe-on formula in a convenient stick form. Simply swipe it directly on your cheeks and blend it with your fingers, a sponge or a brush to get your desired intensity.
Can I mix shades from a blush palette?
Absolutely! One of the best parts of a blush palette is that you can blend the shades to create the perfect flush.