Concealer for Colour Correcting

Colour Correcting Like a Pro and Why Your Brows Are the Real MVPs
There's a reason makeup artists call concealer the great problem solver. It doesn't just cover, it corrects, brightens, and quite literally lifts your entire face. But here's what most people don't realise: concealer isn't just about hiding dark circles or blemishes. When you know how to use it for colour correcting and pair it with perfectly groomed brows, you've got the blueprint for eyes that look wide awake and completely pulled together.
Consider this your insider guide to getting the most out of concealer and understanding why your brows are doing more heavy lifting than you think.
What Is Colour Correcting and Why Should You Care?
Colour correcting sounds technical, but it's actually pretty straightforward once you understand the basics. It's about using specific shades to neutralise unwanted tones in your skin before you even think about applying your regular concealer or foundation. Think of it as pre-emptive problem solving for your face.
The concept works on colour theory. Different hues cancel each other out on the colour wheel. Purple and blue tones under your eyes? A peach or orange corrector neutralises them. Redness around your nose or on blemishes? Green or yellow tones calm that down. It's not magic, it's just smart.
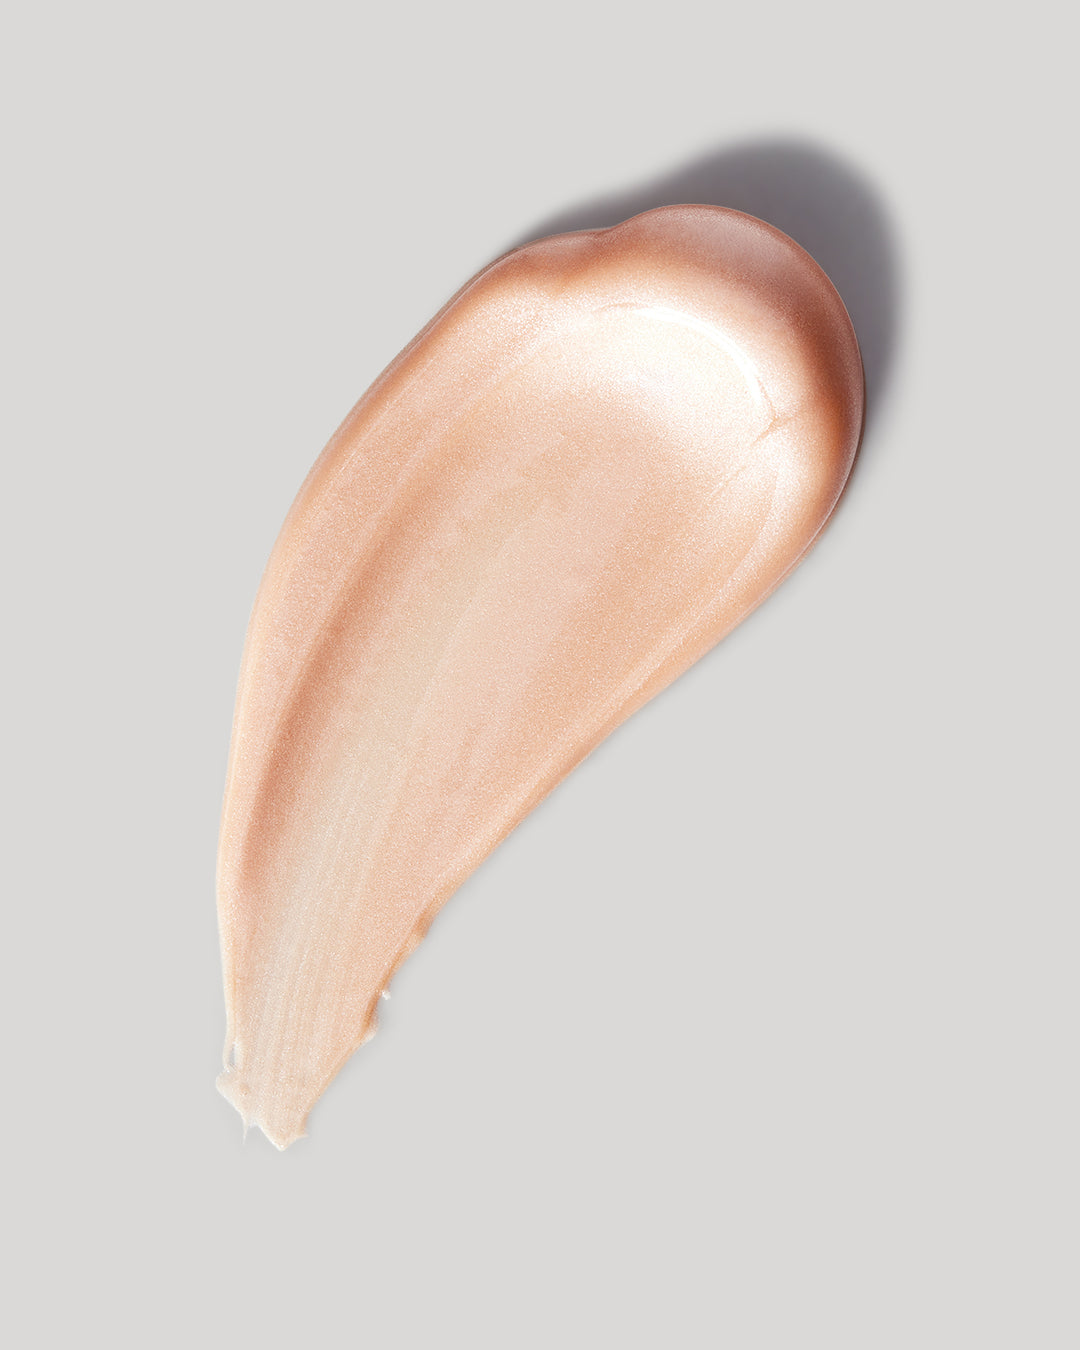
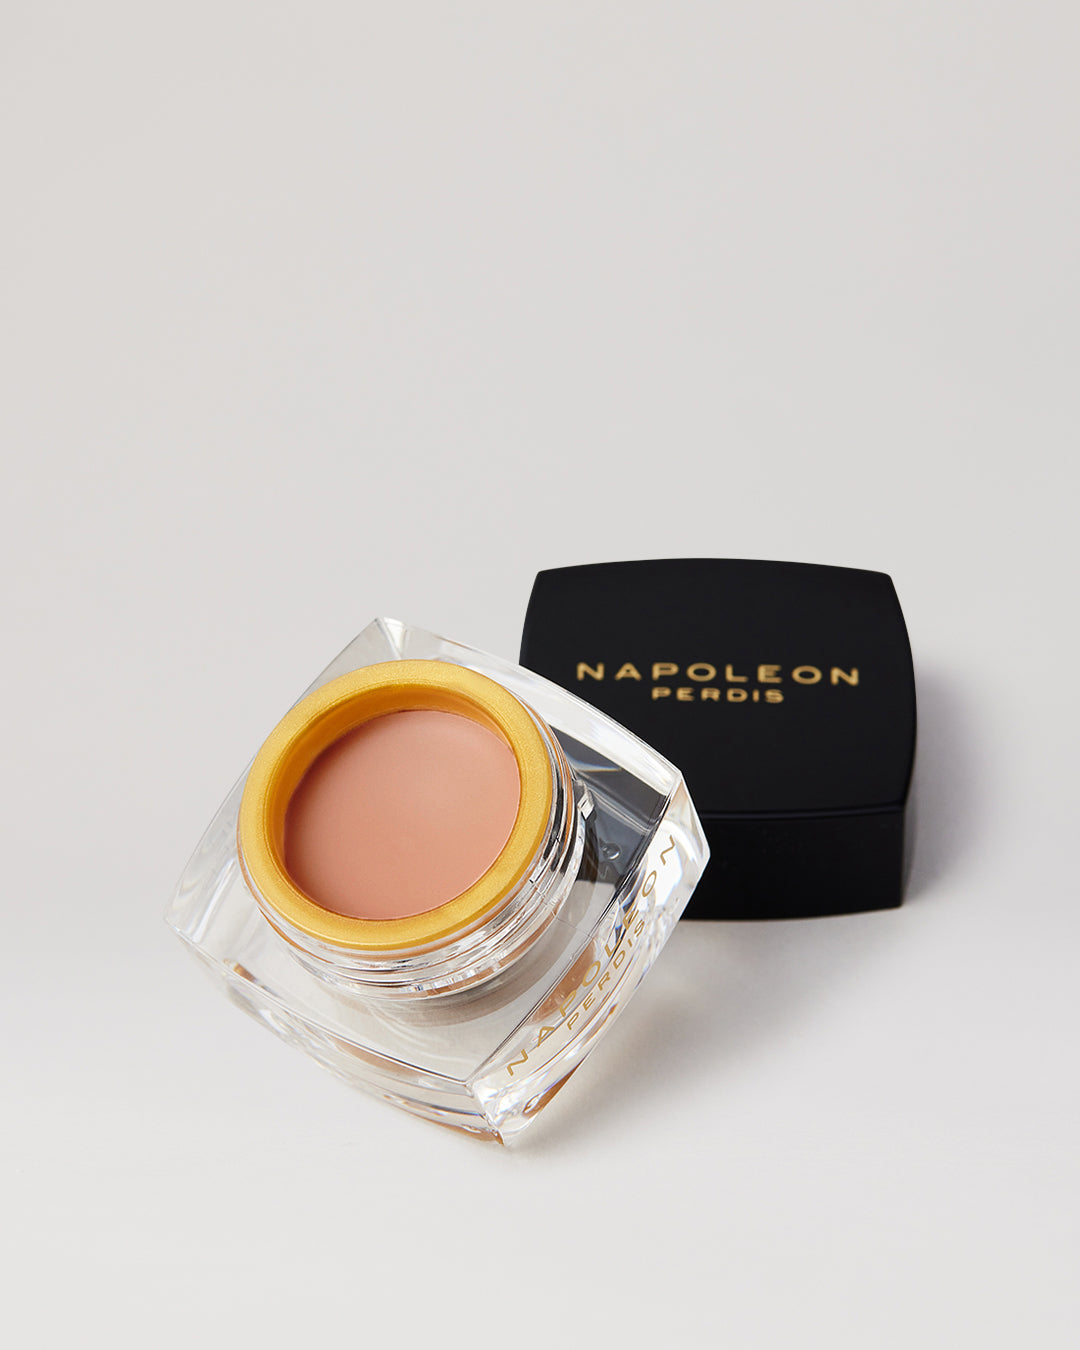
This is where products like The One Concealer in the shade 'Original' become your secret weapon. This peachy-salmon shade is specifically designed for colour correcting under the eyes and covering blemishes. If you've got medium to deeper skin tones with discolouration in the under-eye area, the Pro Palette Concealer+ is your go-to. The Deep Sand shade in this trio neutralises those purple and blue undertones beautifully before you layer your skin-tone-matched concealer on top.
How to Colour Correct Like You Know What You're Doing
The key to colour correcting is restraint. You don't need much product, and you definitely don't want to look like you're wearing a mask. Here's the play-by-play:
Start with a small amount of your corrector shade. For under-eye darkness, that's usually a peach or orange tone depending on your skin depth. Tap it directly onto the darkest areas using your ring finger or a damp makeup sponge like the Lil' Beauty Sponge. The goal is to neutralise, not cover completely.
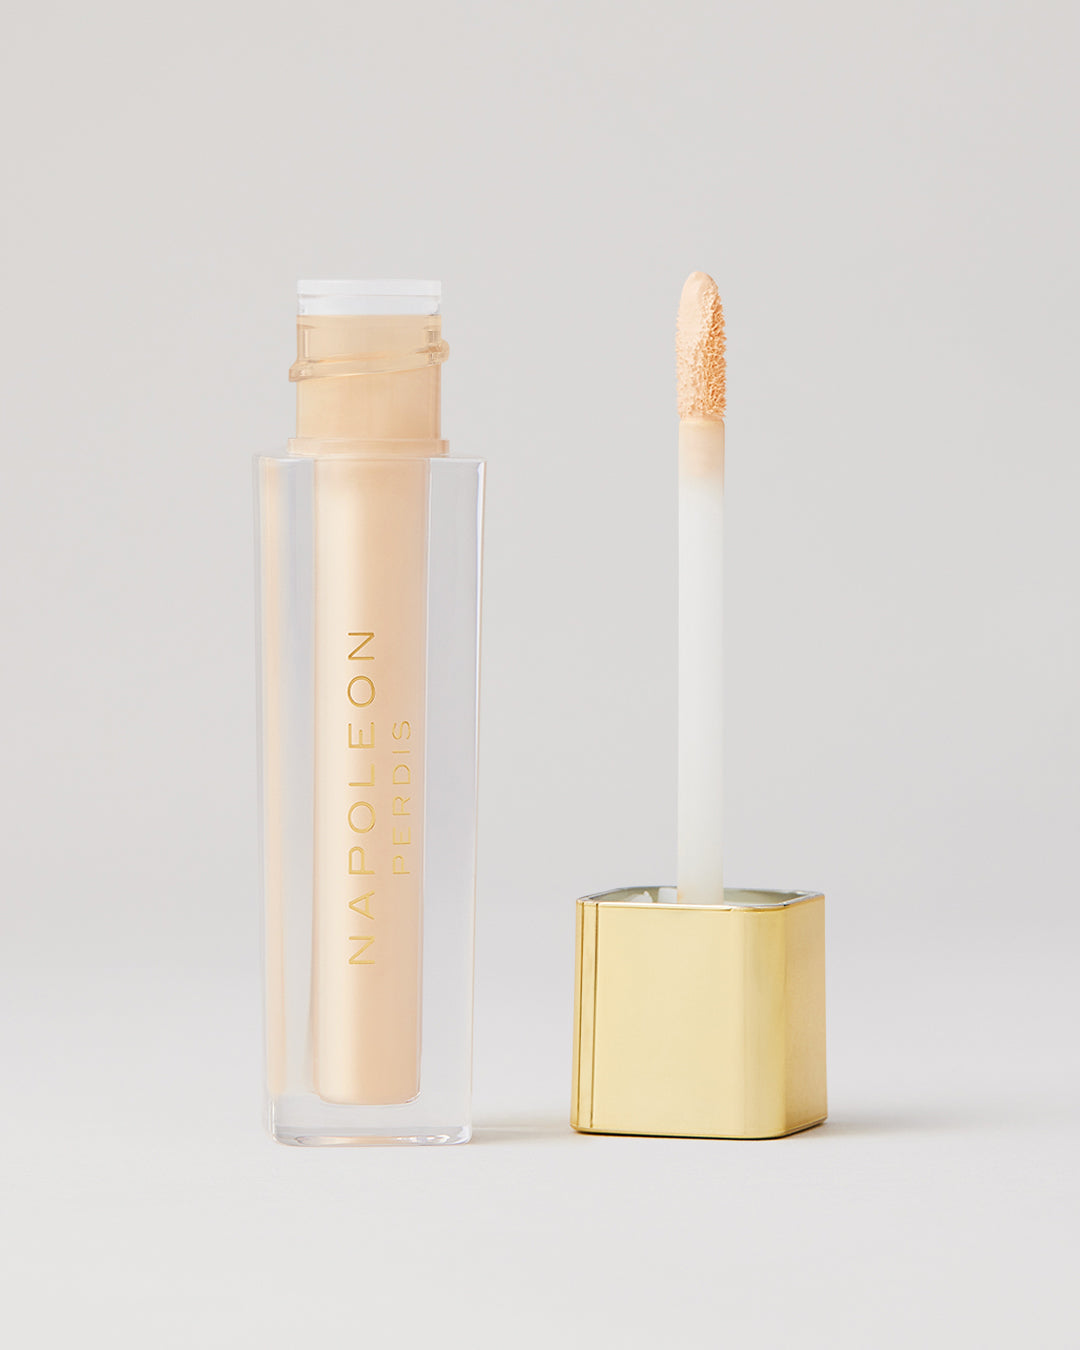
Let it sit for a moment while you do something else, like fill in your brows. This gives the product time to settle into your skin. Then, go over the top with a concealer that matches your skin tone. This is where Camera Finish Concealer or The One Concealer in your perfect match comes in. Use a patting motion to blend and fuse the concealer with your corrector and foundation, making sure the edges disappear seamlessly.
Set lightly with powder if you're prone to creasing, but don't go heavy-handed. A translucent powder or Camera Finish Powder Foundation dusted lightly will lock everything in place without looking cakey.


The Highlighting Trick That Changes Everything
Here's a technique that makeup artists have been using for decades but somehow never made it into the mainstream conversation: the strategic highlight. After you've corrected and concealed, take a shade of Camera Finish Concealer that's one to two shades lighter than your natural skin tone. Apply a small amount to the inner corners of your eyes, down the bridge of your nose, on the high points of your cheekbones, and the centre of your chin.
This isn't about looking sparkly or frosted. It's about mimicking where light naturally hits your face, creating dimension and making you look more awake. Blend it out with a damp sponge, and watch how it instantly lifts your entire face. It's subtle, but it's the difference between looking good and looking 'I don't know what she did, but she looks incredible.
Why Your Brows Are the Frame Your Eyes Deserve
Let's talk about brows because this is where everything comes together. You can have the most flawless concealer application in the world, but if your brows are an afterthought, your eyes won't have the impact they should. Brows quite literally frame your eyes. They provide structure, balance, and draw attention exactly where you want it.
Well-groomed brows create a visual lift that no amount of concealer can replicate on its own. They define your face, open up your eye area, and bring everything into focus. When your brows are on point, your eyes look bigger, brighter, and more awake, even on days when you're running on four hours of sleep and too much coffee.
The shape and fullness of your brows also determine how your eye makeup reads. A bold brow can handle a smokey eye or dramatic liner without looking overdone. A softer, more natural brow pairs beautifully with a fresh, minimal makeup look. They set the tone for your entire face.
Getting Your Brows Right
If you're not sure where to start with your brows, keep it simple. A good brow pencil or a precise pen like the Framed Liquid Brow Pen allows you to fill in sparse areas with hair-like strokes that look natural, not drawn on. The key is to work with your natural shape, not against it.
Start by brushing your brow hairs upward with a spoolie to see their natural shape. Fill in any gaps with light, feathery strokes, concentrating on the areas that need the most help. The front of your brows should be softer and lighter, with the arch and tail slightly more defined. Blend everything out with your spoolie again so there are no harsh lines.
Set your brows with a clear or tinted gel if you want them to stay in place all day. The goal is brows that look like brows, just better.


The Concealer and Brow Power Duo
Here's where concealer and brows work together in perfect harmony. After you've filled in and shaped your brows, take a tiny bit of concealer on a small, flat brush like the Concealer Brush CN2. Run it along the bottom edge of your brow, right where your brow meets your skin. Blend it downward slightly to clean up the shape and create a subtle highlight that lifts your brow bone.
This technique sharpens your brow shape, makes your eyes look more lifted, and creates that crisp, polished finish that pulls your entire look together. It's the difference between 'I did my makeup' and 'I know how to do my makeup.'
The Final Word
Concealer isn't just about covering up. When you use it to colour correct, highlight, and define, it becomes a tool for transformation. Pair that with brows that frame and lift your eyes, and you've mastered two of the most impactful steps in any makeup routine. It's not about perfection. It's about working smarter, not harder, to look like the best version of yourself.
The products are there. The techniques are simple. Now it's just about putting it all into practice and watching how two small changes make the biggest difference.
Featured Products


Frequently Asked Questions
Whether you're a full-glam queen or a no-makeup-makeup babe, our concealer makeup FAQ spills all the deets.
What is concealer?
Concealer makeup is a product designed to hide imperfections in the skin. It offers high coverage to mask dark circles, blemishes, and redness for a more even overall makeup look. It is typically available in liquid or cream form.
Where to put concealer?
Apply concealer gently under the eyes, around the nose, and anywhere you want extra coverage, like on blemishes or red patches.
Does concealer go before or after foundation?
Either, but many people prefer to apply concealer after foundation, so they can apply it’s where needed most.
How to apply concealer?
Use a small brush, sponge or your fingertips to gently pat concealer into problem areas. Blend well and set with a powder for longevity.
What are the different types of concealers?
There are liquid, cream and stick concealers.
Should concealer be lighter or darker than your skin?
For under eyes, go one shade lighter, for blemishes and redness, match your skin tone exactly.
Which is better, primer or concealer?
Primers and concealer makeup do different jobs. A primer smoothes and prepares the skin for makeup application, whereas a concealer provides targeted coverage. Use them together for a flawless finish.